Understanding Sprung Bed Slats: Exploring Various Timbers
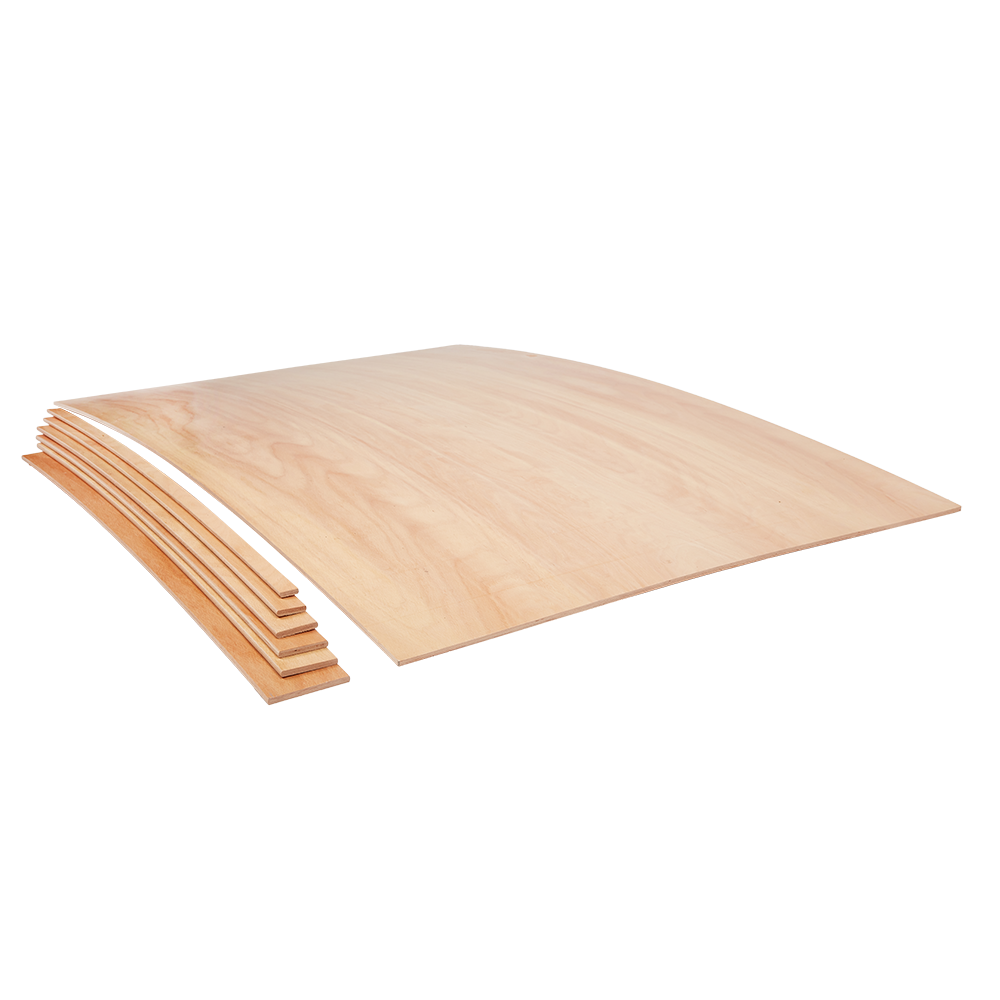
Replacement Beech Sprung Bed Slats
Shop Now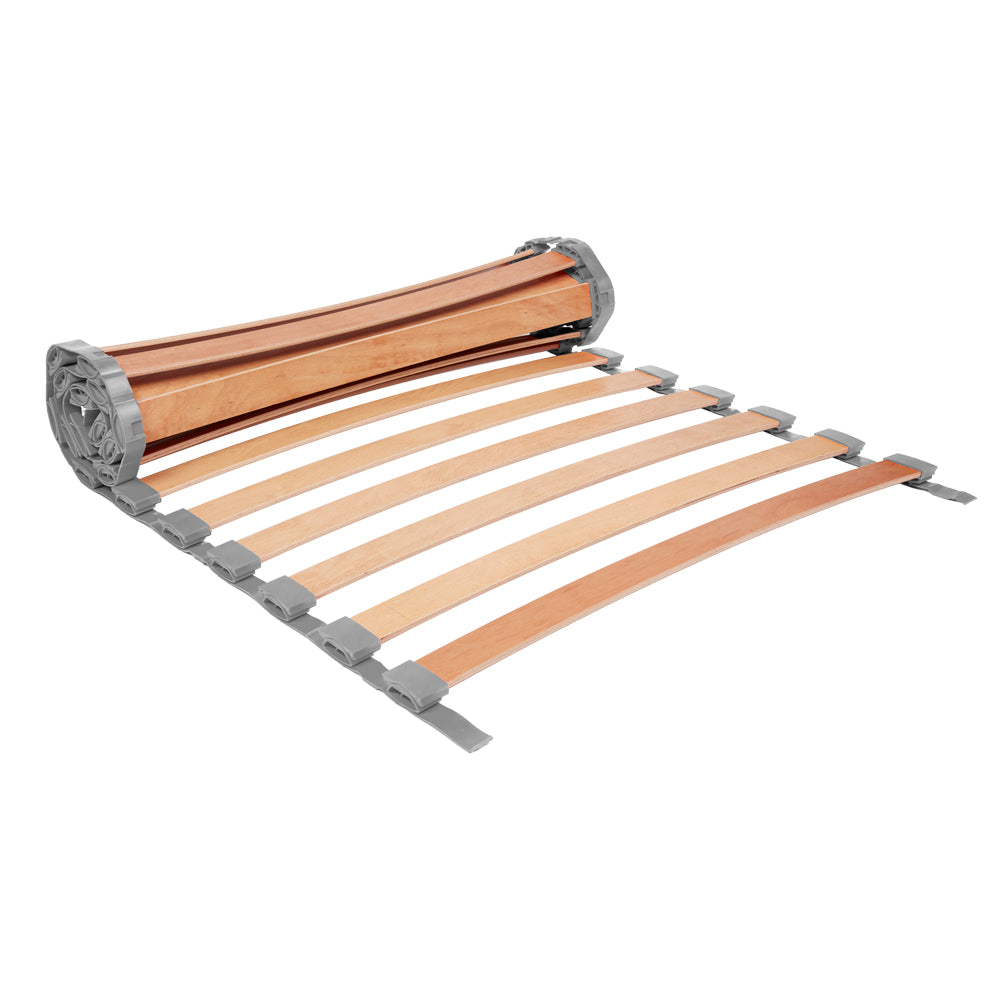
Roll-Out Sprung Slats
Shop Now
View our Beech Sprung Bed Slat Range
Shop Now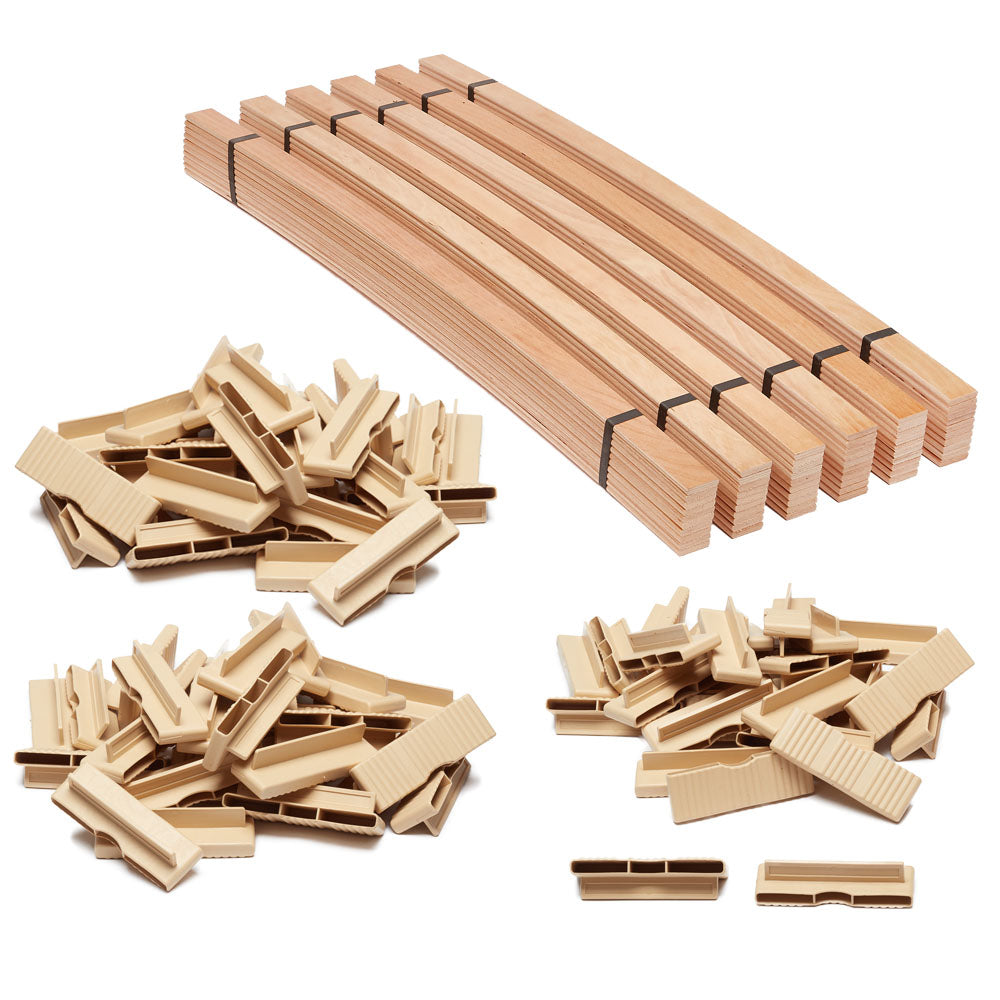
Sprung Bed Kits - Slats with compatible holders
Shop Now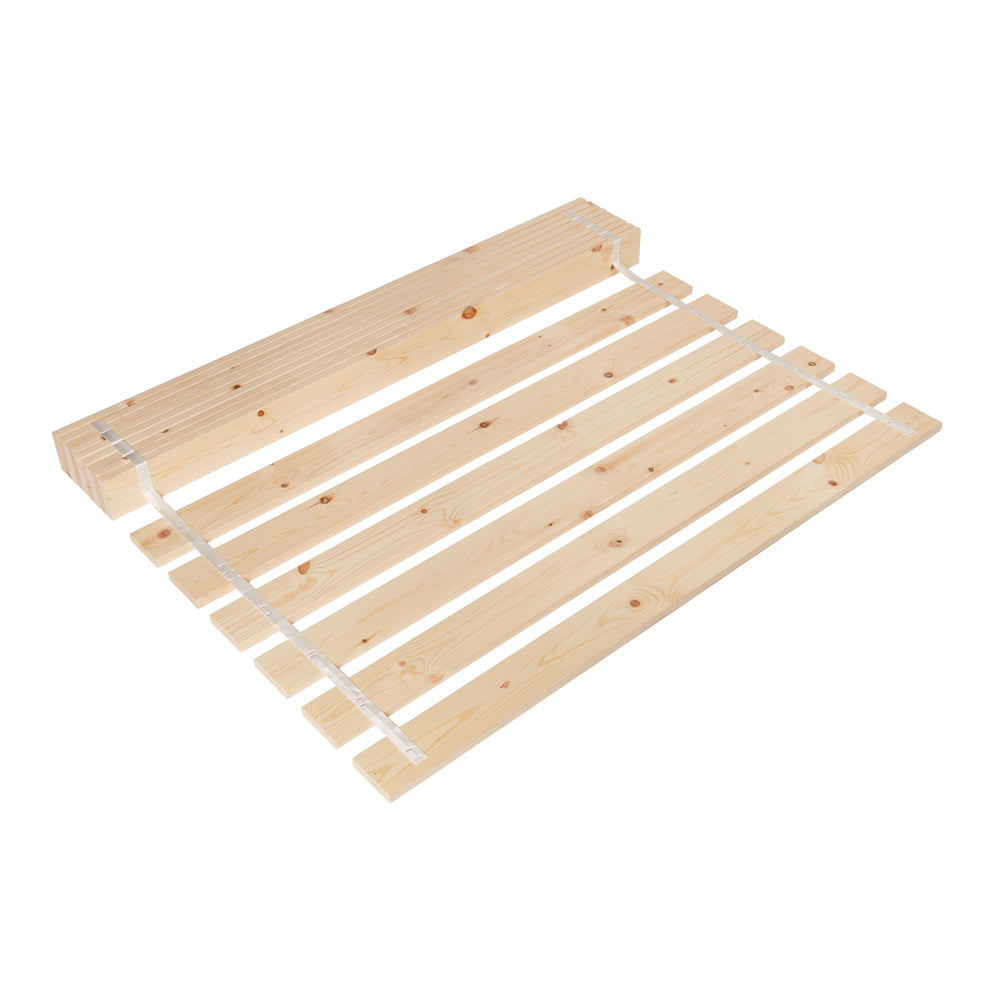
Webbed Bed Slat Set
View our Range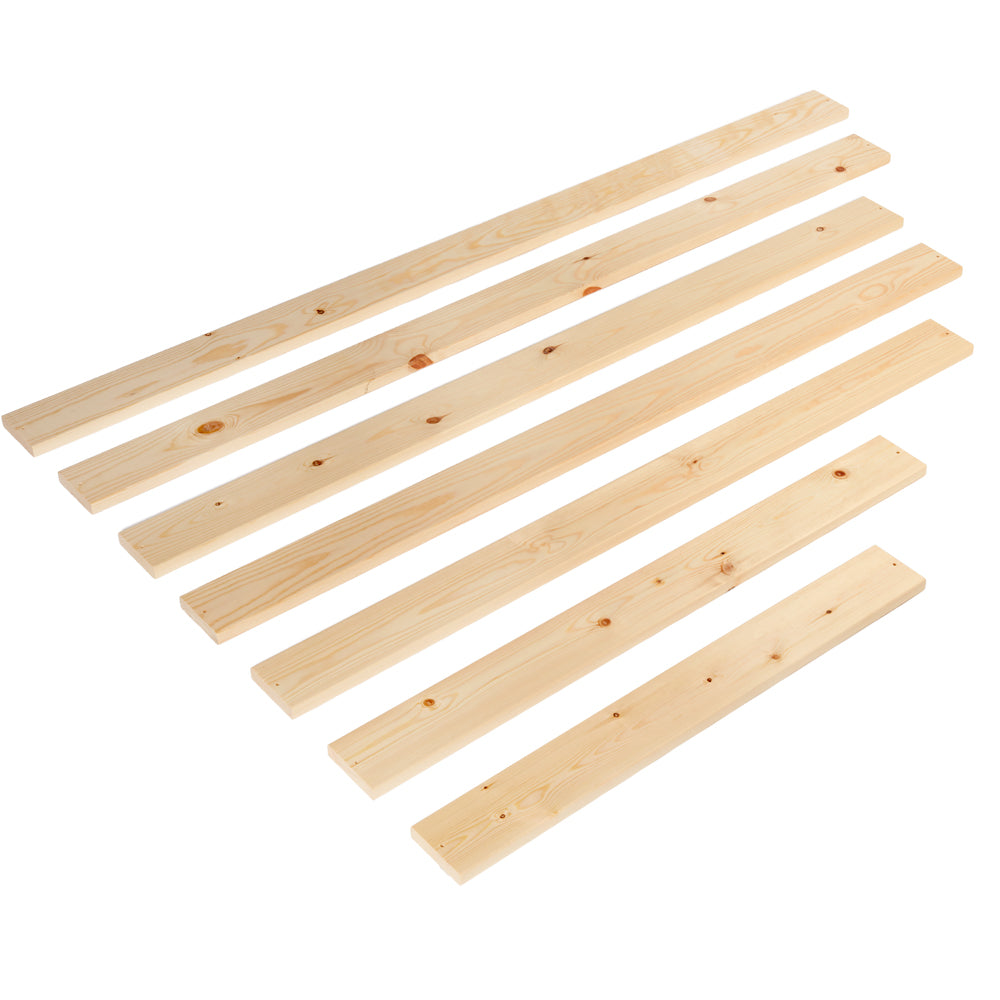
Individual Flat Bed Slats
View our Range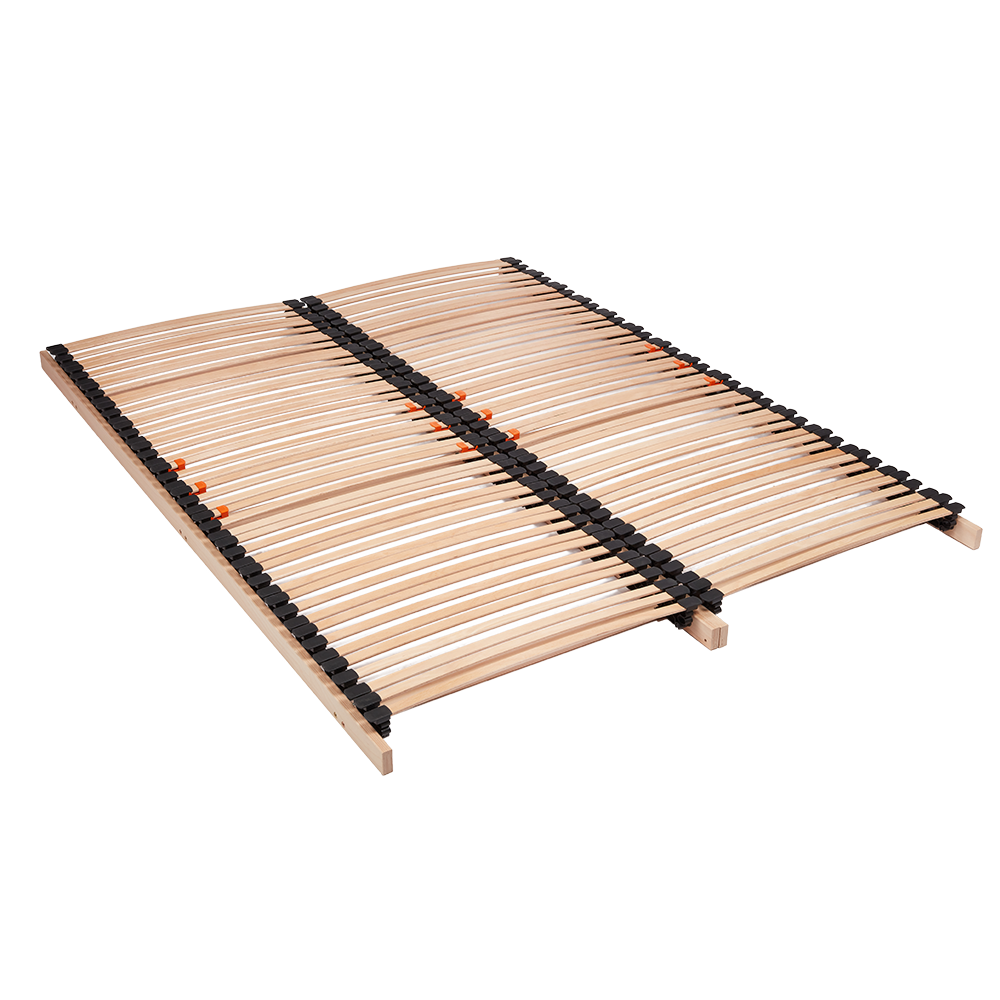
Drop-In™ Slatted Bed Bases
View Our Range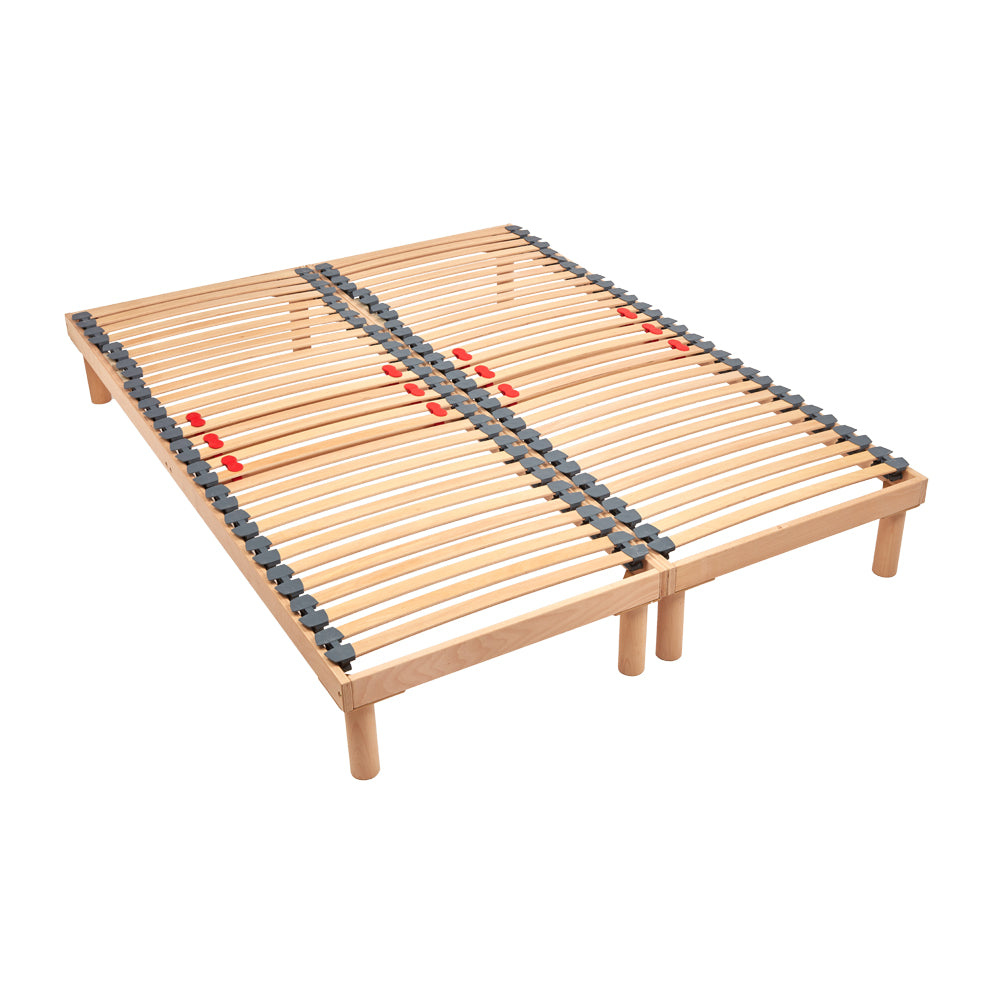
Floor-Standing™ Slatted Bed Bases
View Our Range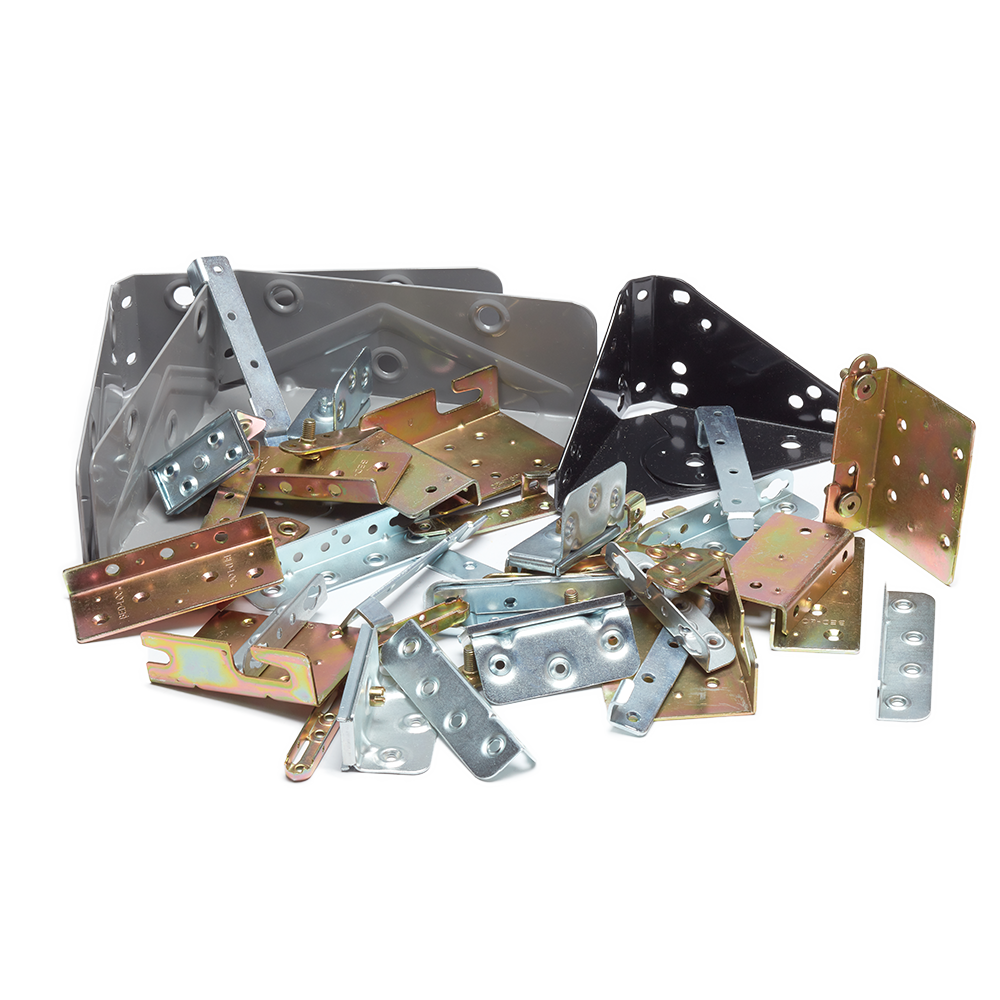
Bed Corner Brackets
View our Range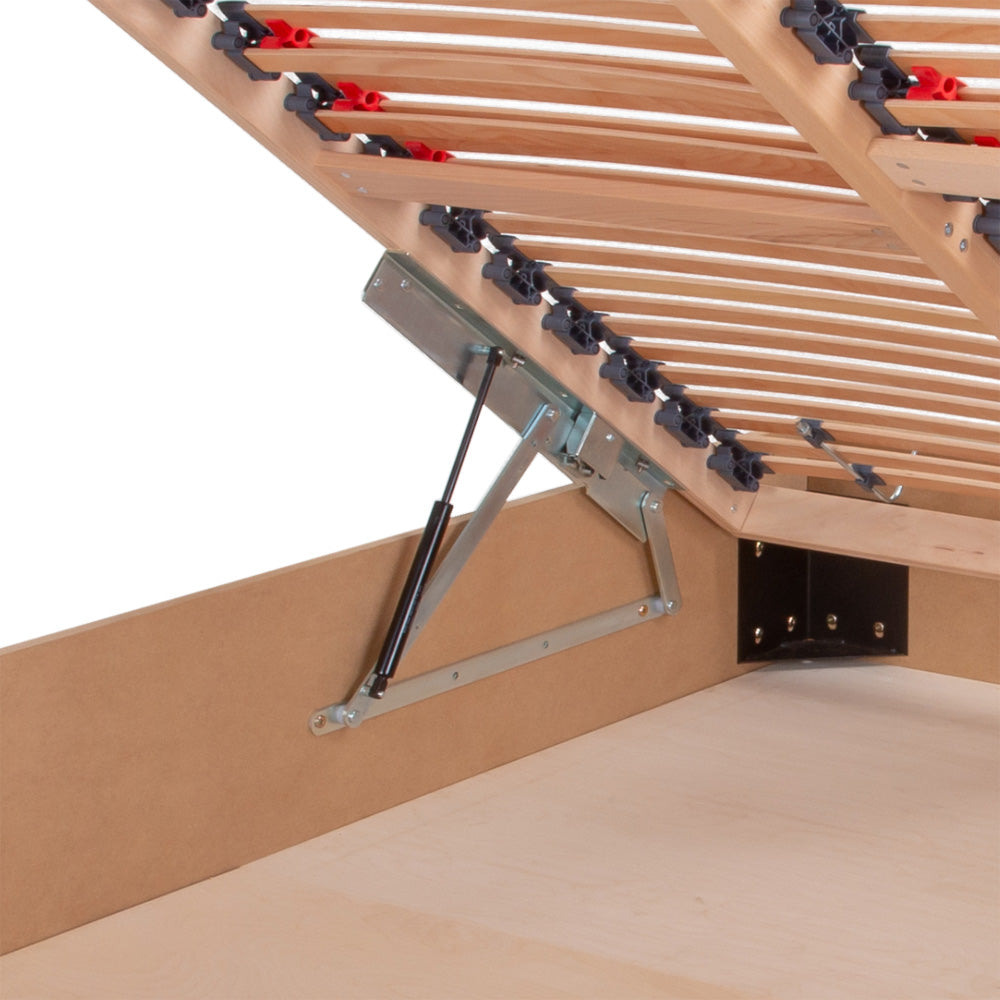
Ottoman Bed Hinges
View our Range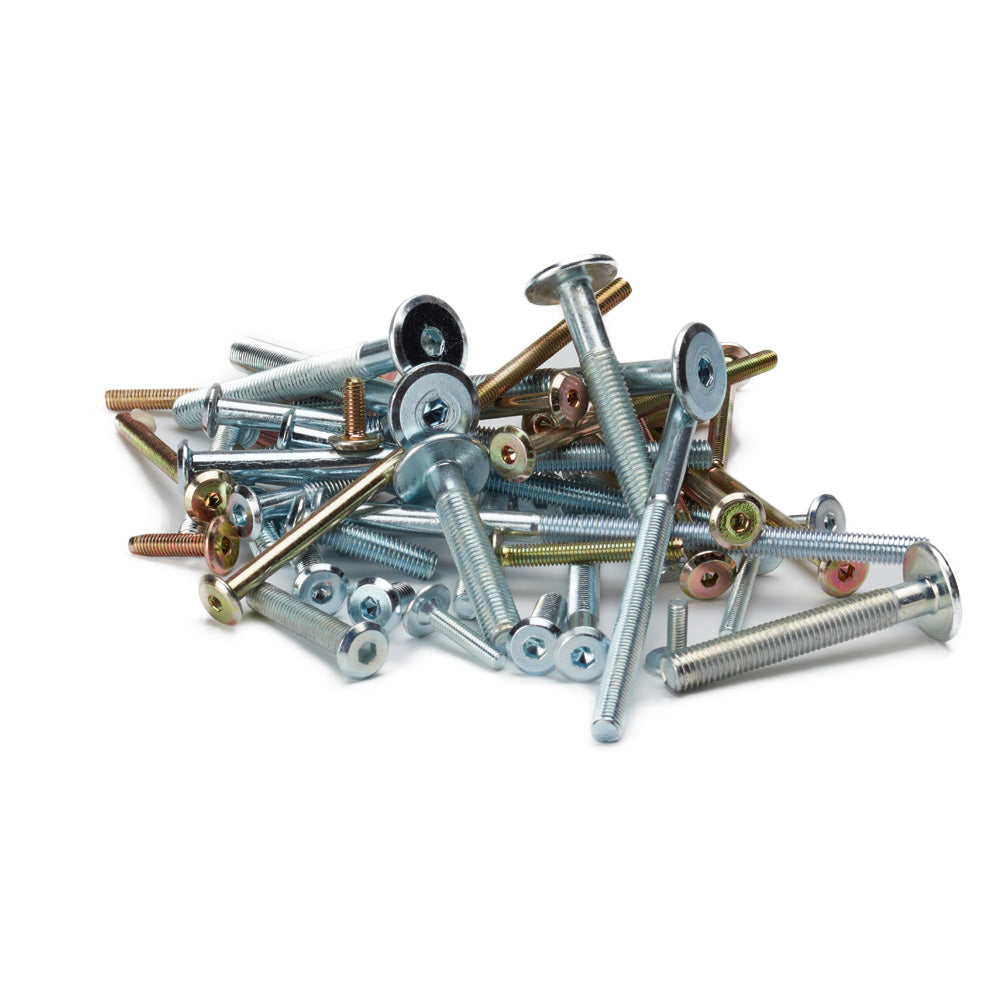
Furniture Connector Bolts
Shop Now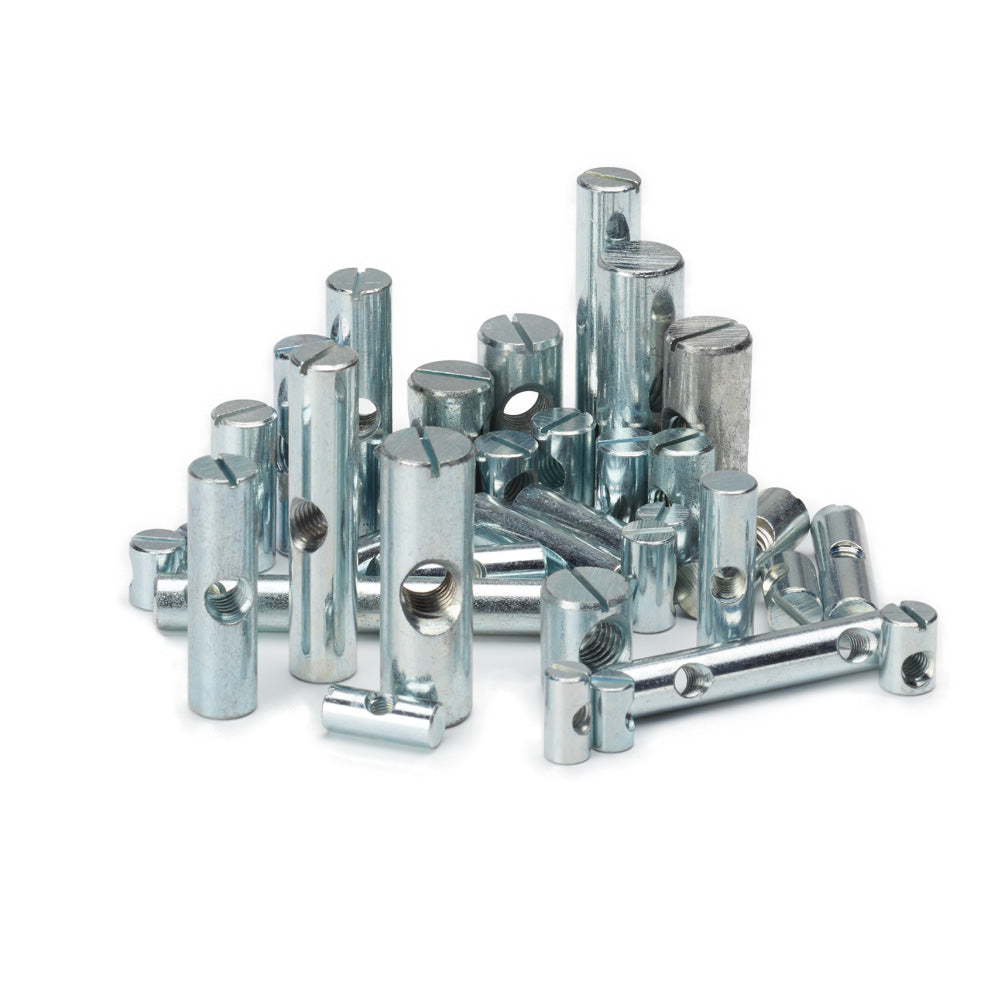
Cross Dowels / Barrel Nuts
Shop Now
Custom Furniture Feet
Shop Now
Floating Shelf Brackets
Shop Now
Ready to Upholster Beds
Bed Range
Ready to Upholster Headboards
Headboard RangeVolume Discounts
Sprung Bed Slats
Popular Sprung Slat Searches
Bed Components
Bed Fixing
Furniture Fixings and Fasteners
Popular Furniture Fixing Searches
Other Items
Ready to Upholster
Search
Account
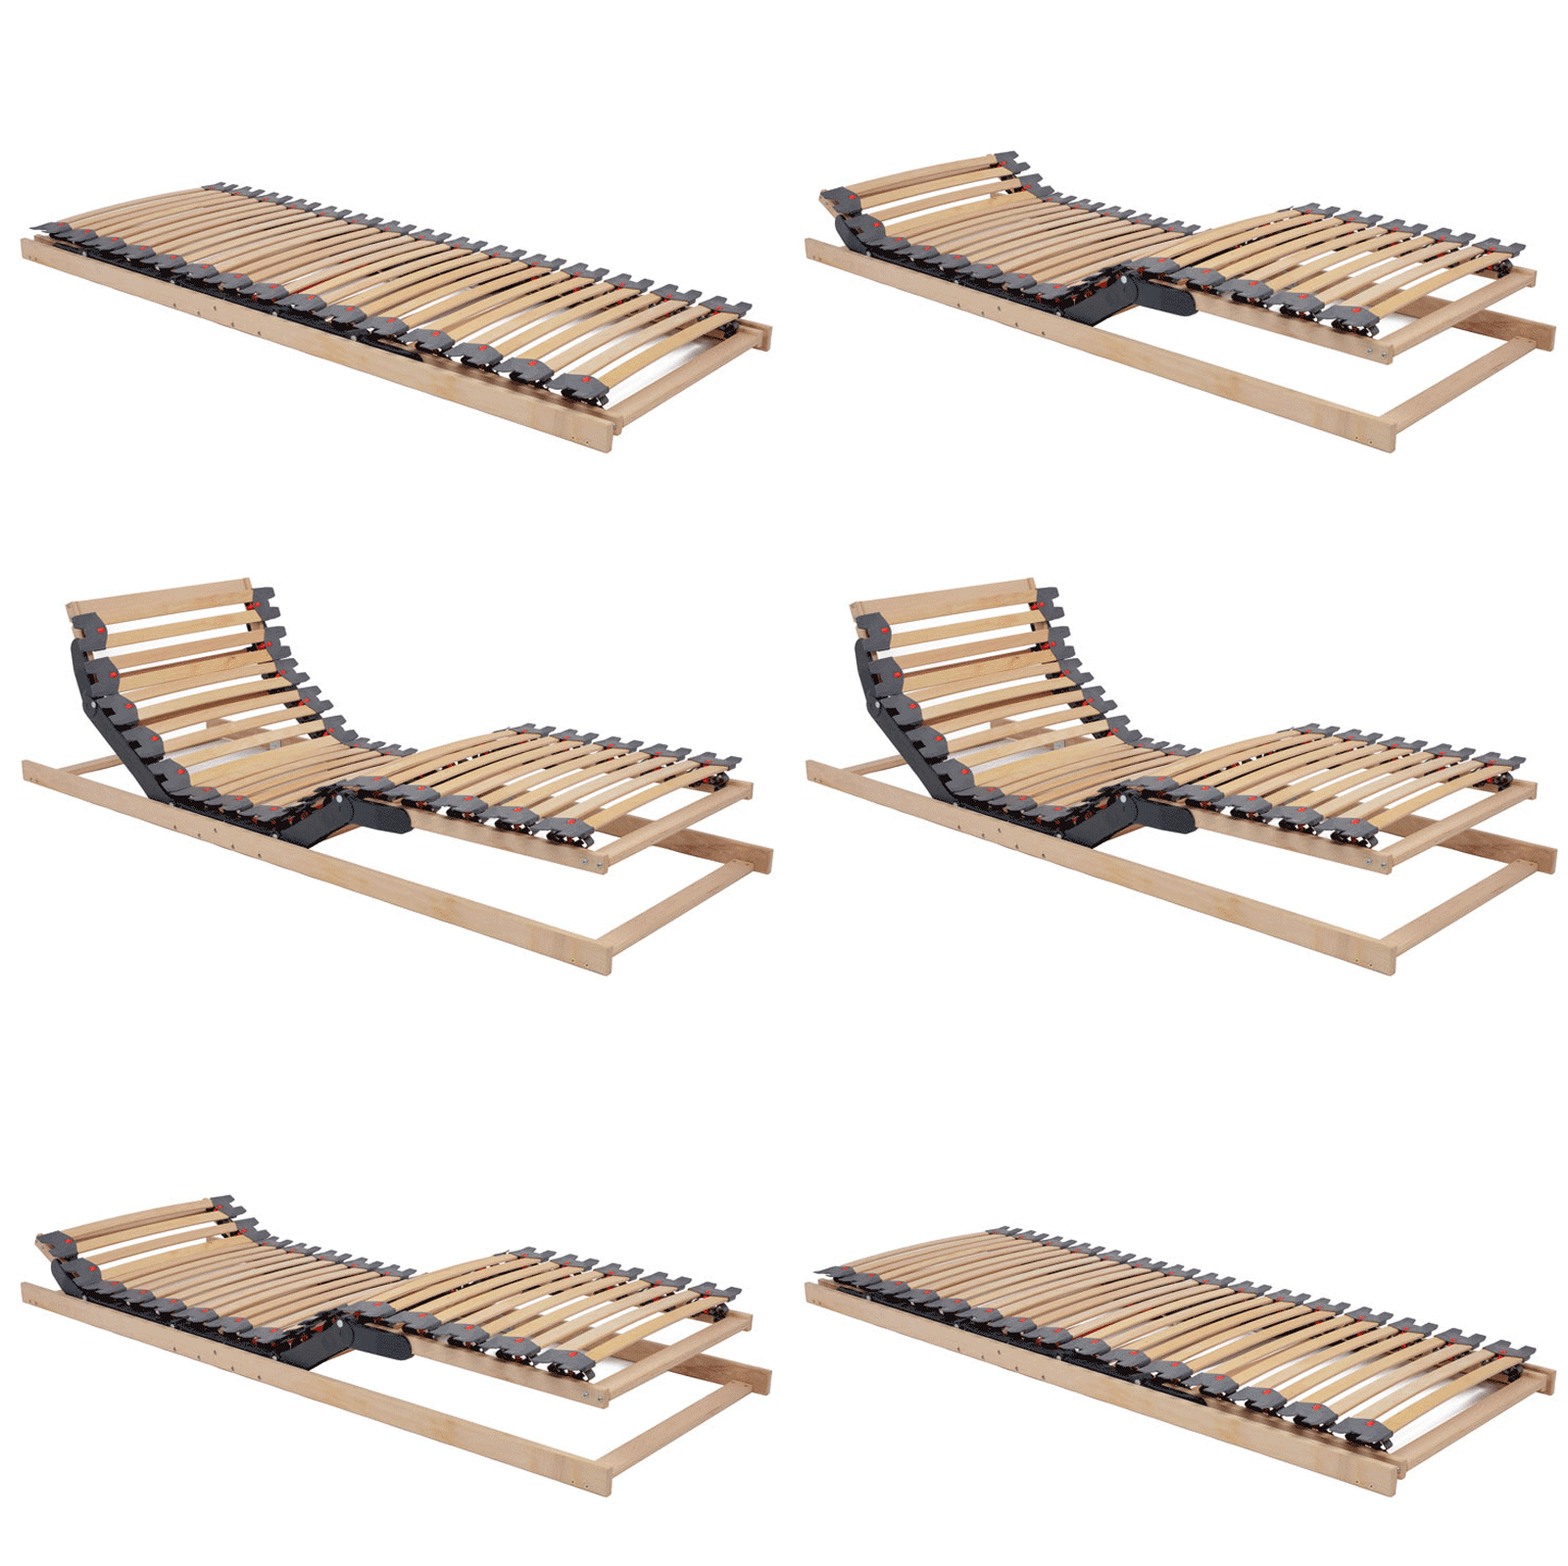
The Bed Slats Workshop
Shop now




From £20.00

Always in Stock in our Workshop

Quick Dispatch

Quality Assured

Safe and Secure Online Shopping
£20.00
Ask a question


These Adjustable centre rail feet designed and manufactured in-house and are exclusive sold by us.
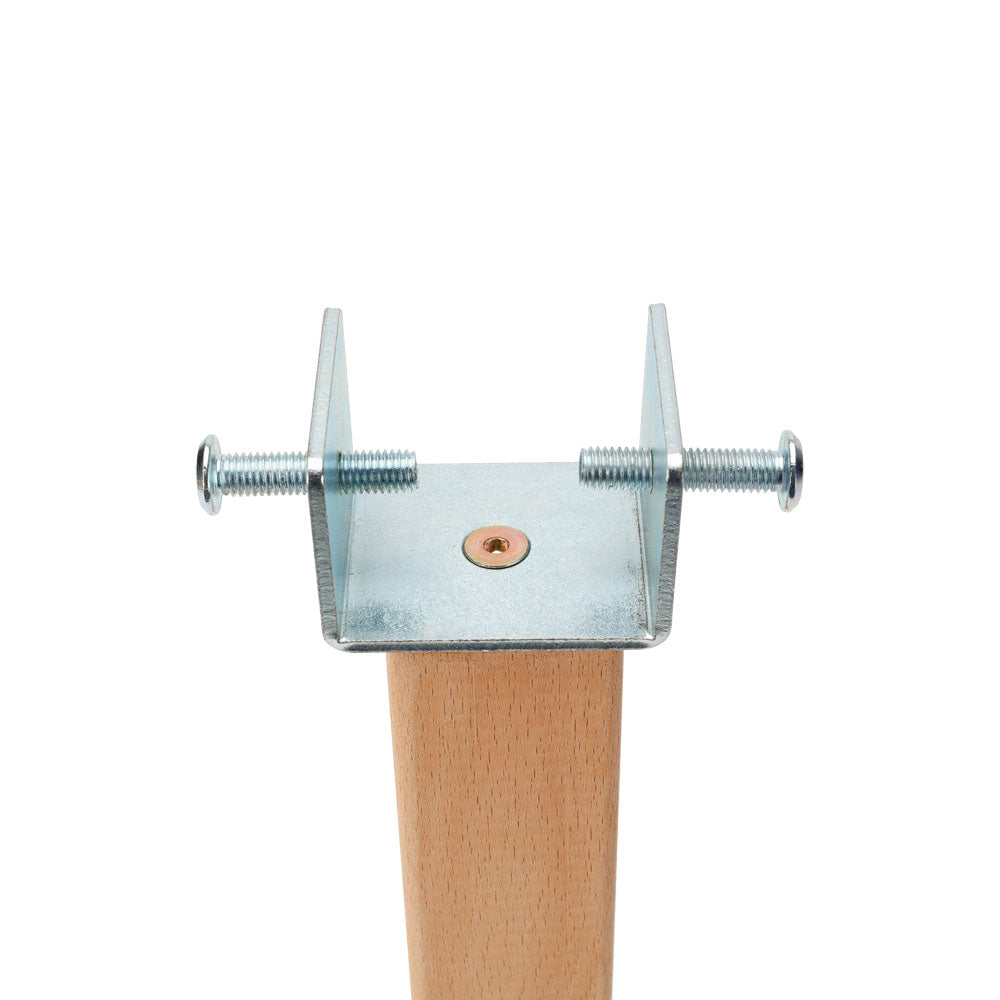
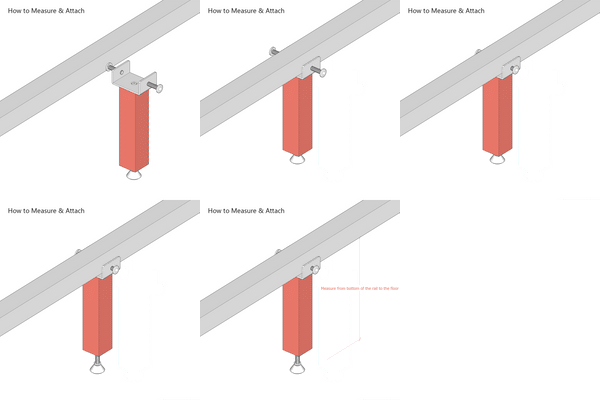
This Adjustable Foot has a metal heavy duty U Bracket on the top, ideal for securely attaching to a bed centre rail.
These adjustable Wooden feet are available in various sizes to meet all requirements. If you have a unusual size; custom sizes can be manufactured on request (please email)
The number of feet required various from centre rail to centre rail (between 1 and 3). Many bed manufacturers provide very poor quality centre rails to save on cost.
Centre Rail Measurements
Your centre must be a minimum depth of 40mm and a maximum width of 53mm
The Centre Rail foot is supplied with
Measurements
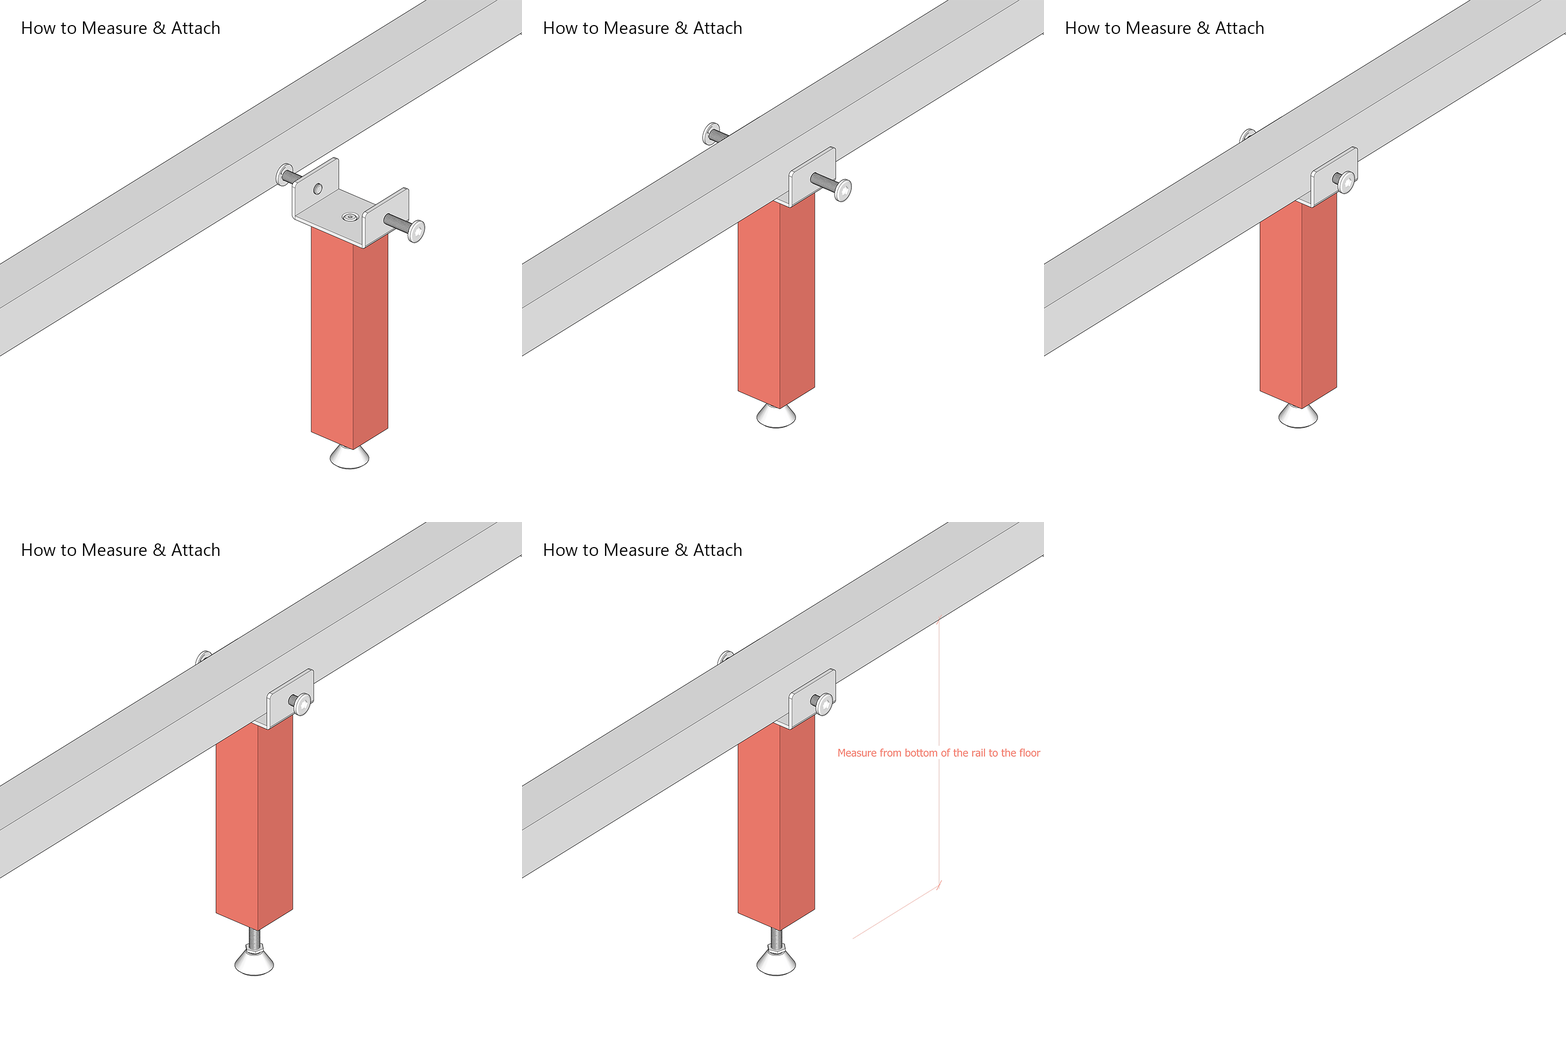
You need to measure from the bottom of the centre rail to the floor
If you do not currently have a centre rail, you need to measure from the Bottom of your slats to the floor (Minus) the depth of your centre rail
Installation 3-10 minutes
Step 1
Ensure the adjuster is at its lowest position; attach the U Bracket to your centre rail and tighten the M8 Bolts
Step 2
Use all 4 wood screws to securely attach the Plate fitting to the centre rail; then re-attach the foot
Step 3
Adjust the adjuster also it is against the floor
Step 4
Once the adjuster is firmly again the floor, you need to tighten the locking nut to lock it into position
This site requires cookies to be accepted to allow the best site experience possible. By continuing to browse the site you are agreeing to our use of cookies
Accept
Decline
Your Shopping Bag
(0)
Discounts shown at checkout
Continue Shopping
MY ACCOUNT
I ALREADY HAVE AN ACCOUNT
I DON'T HAVE AN ACCOUNT
Enjoy added benefits and a richer experience by creating a personal account
Create An AccountCREATE AN ACCOUNT
Your account enables you to

Follow your online orders, in-store repairs and access your purchase history, e-receipts

Manage your personal information

Create your personal wishlist